OS9
Application-specific instructions for installing CentOS 9
CentOS 9 Setup Guide
These are my step-by-step instructions for installing CentOS 9.
If you want them to do something else, the fork button is right there.
Hyper-V Note
VM Requirements:
- Generation 2 VM
- Disable SecureBoot
If this VM will be inheriting disks from another (e.g., Scientific Linux 6), then it will usually only need one small (20GB) disk of its own.
OS Installation
Download the CentOS 9 stream ISO.
Boot the VM from that .iso, and the install boot menu will appear.
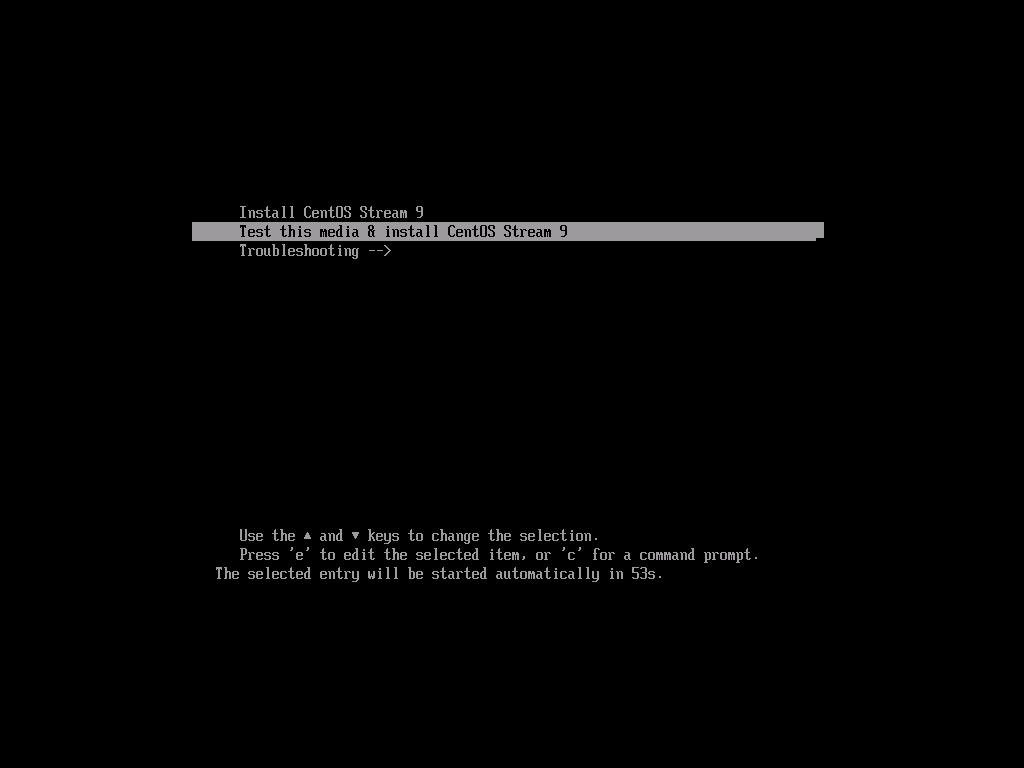
Either press the Enter key or wait for the menu to count down. The installer will verify that the install image was not corrupted during download, then prompt you to choose the language to use during the install.
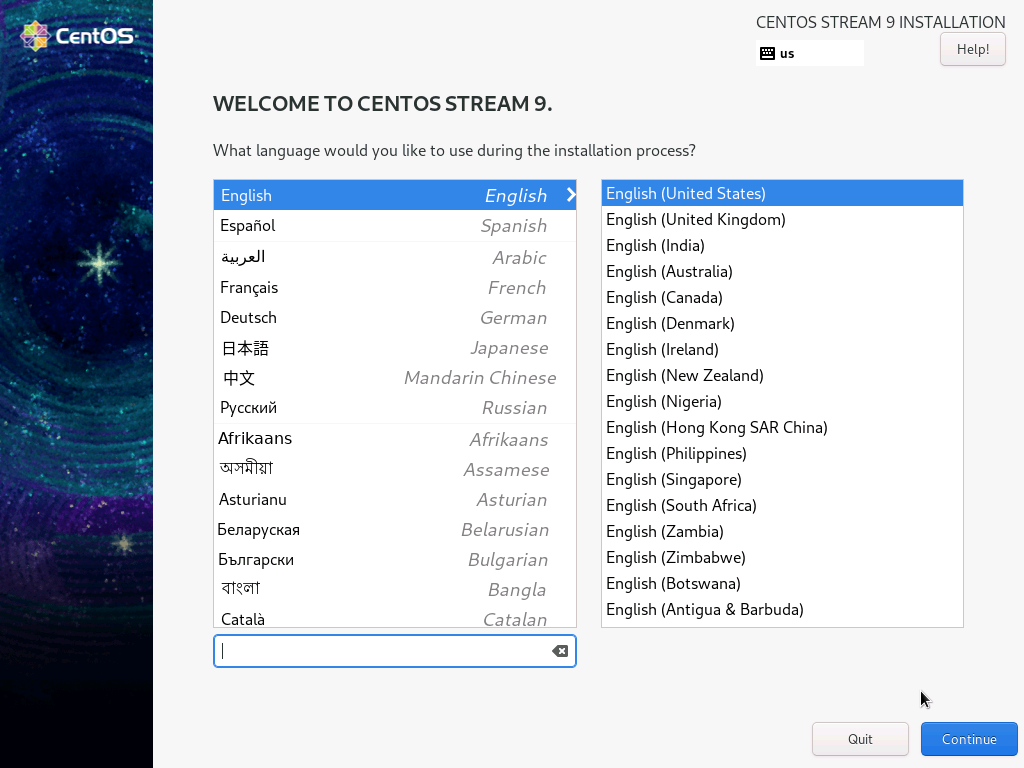
If you prefer a language other than U.S. English, choose it now. (Note that these instructions are only provided in US English.)
Click the Continue button in the lower-right corner to go to the installation summary.
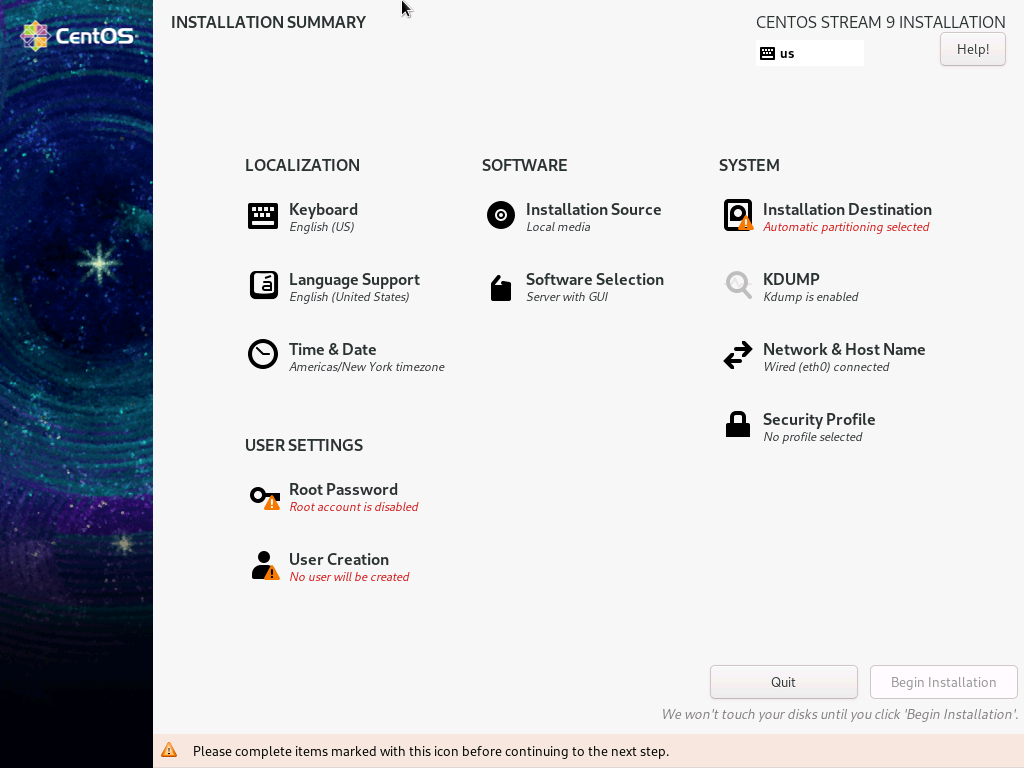
We will only be making changes in four of the eleven parts of the installation summary. Start by clicking on Root Password to display the root password screen.
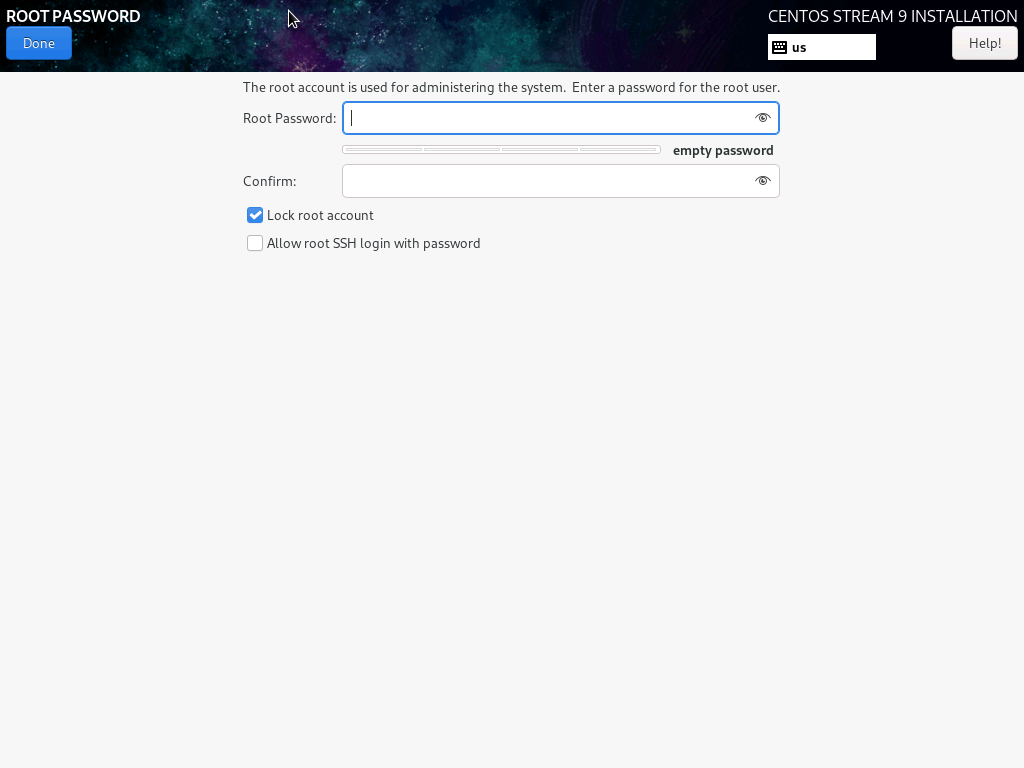
Enter the same strong password in both fields, and uncheck the Lock root account option. Then click the Done button in the upper-left-corner to return to the installation summary.
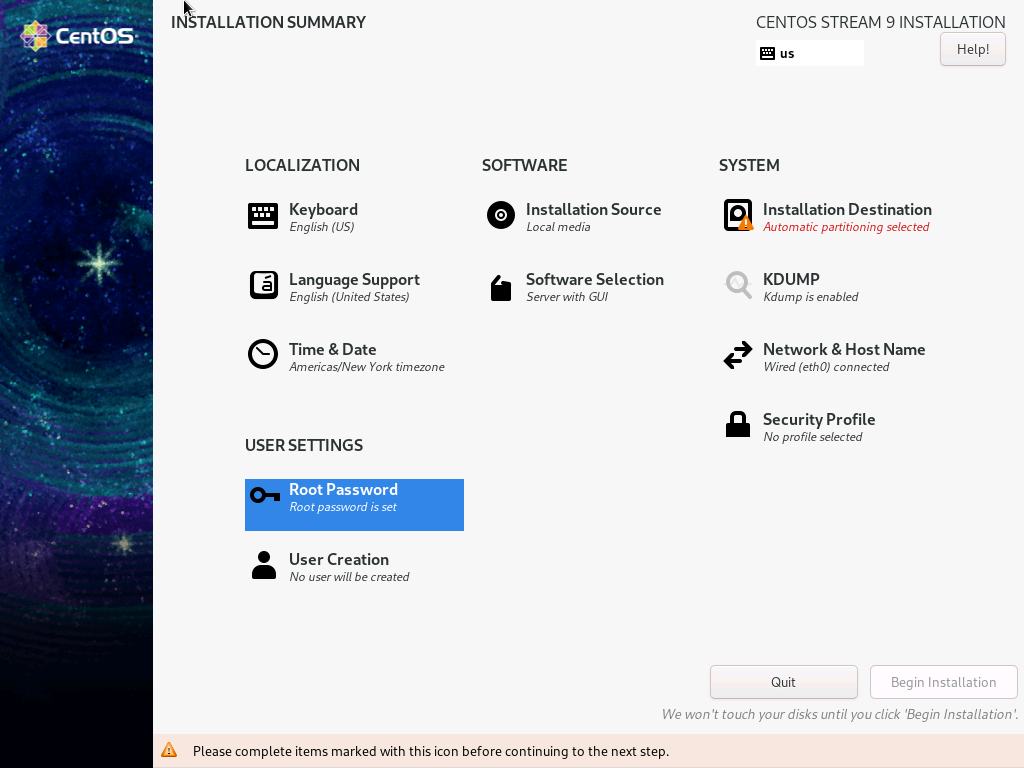
Click Software Selection to display the software selection screen.
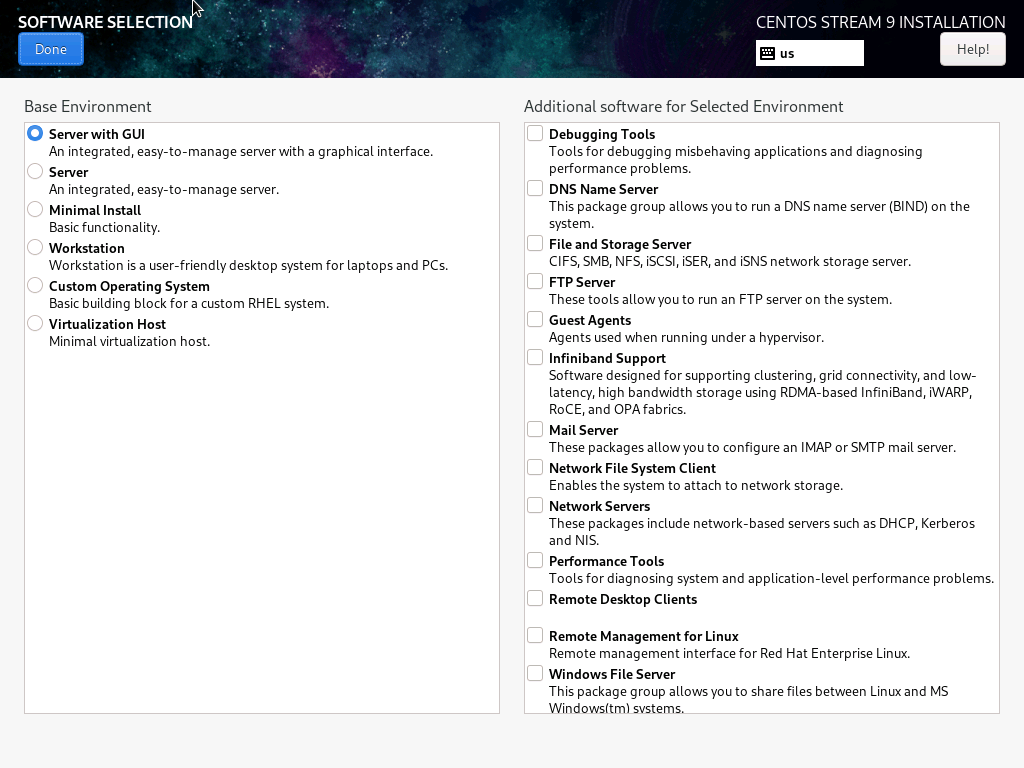
In the left column, click the circle next to Minimal Install.
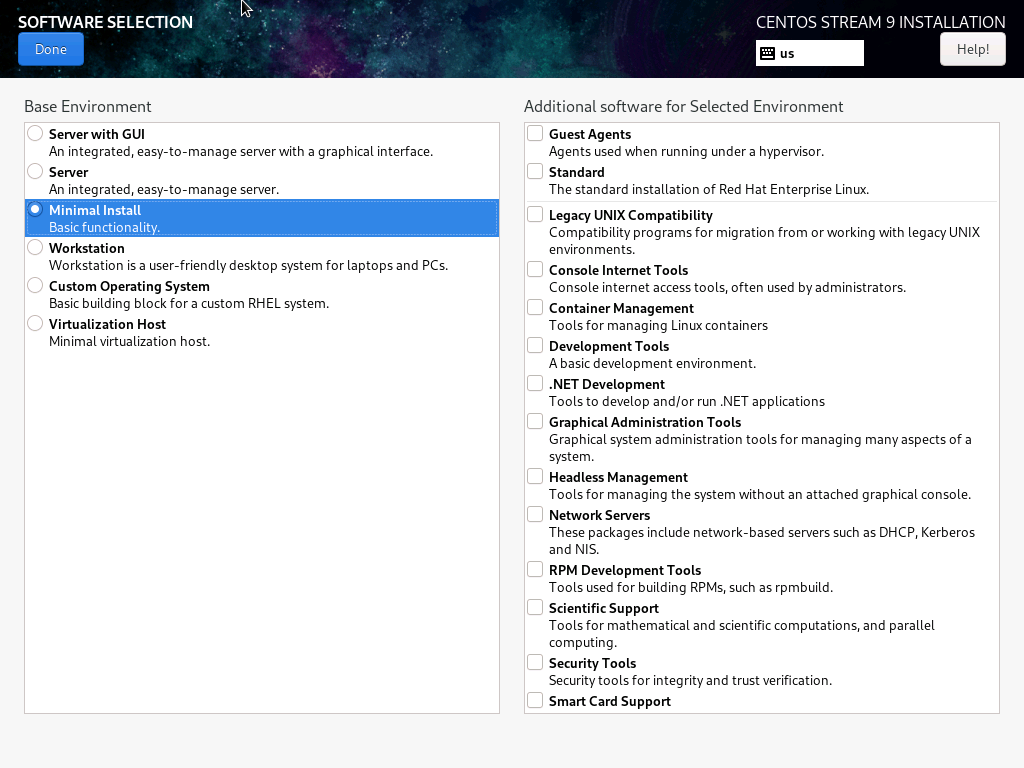
Click the Done button in the upper-left-corner to return to the installation summary, then click Installation Destination to display the Installation Destination screen.
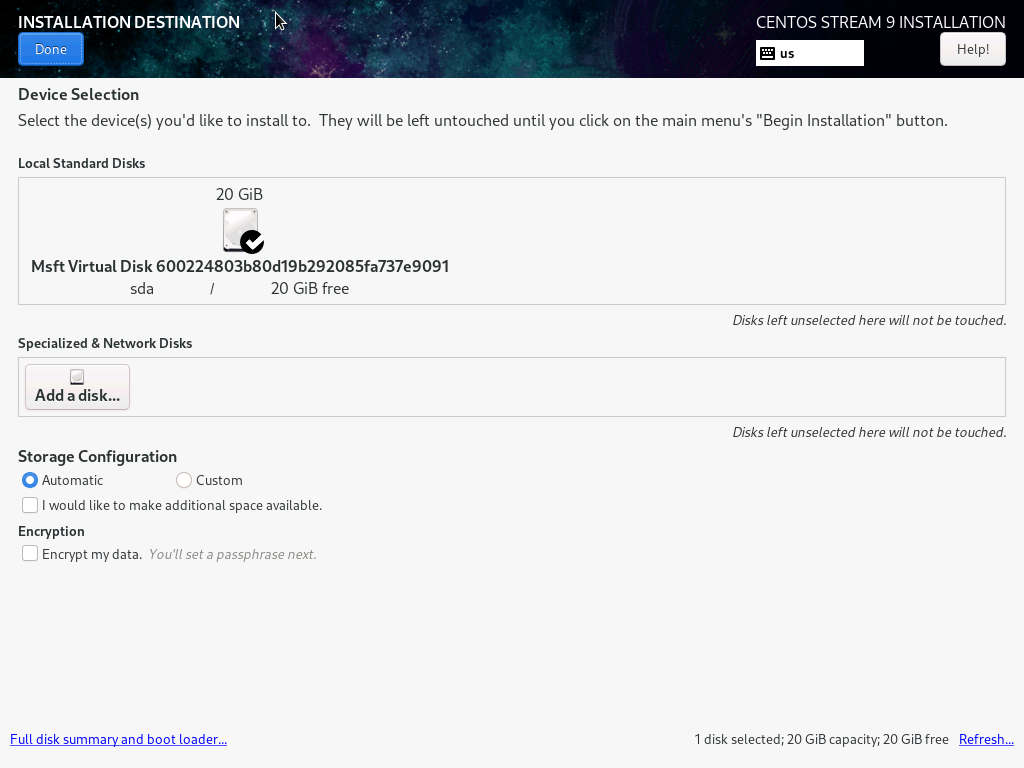
Simply displaying this screen is enough to load the default destination configuration. Click the Done button in the upper-left-corner to return to the installation summary.
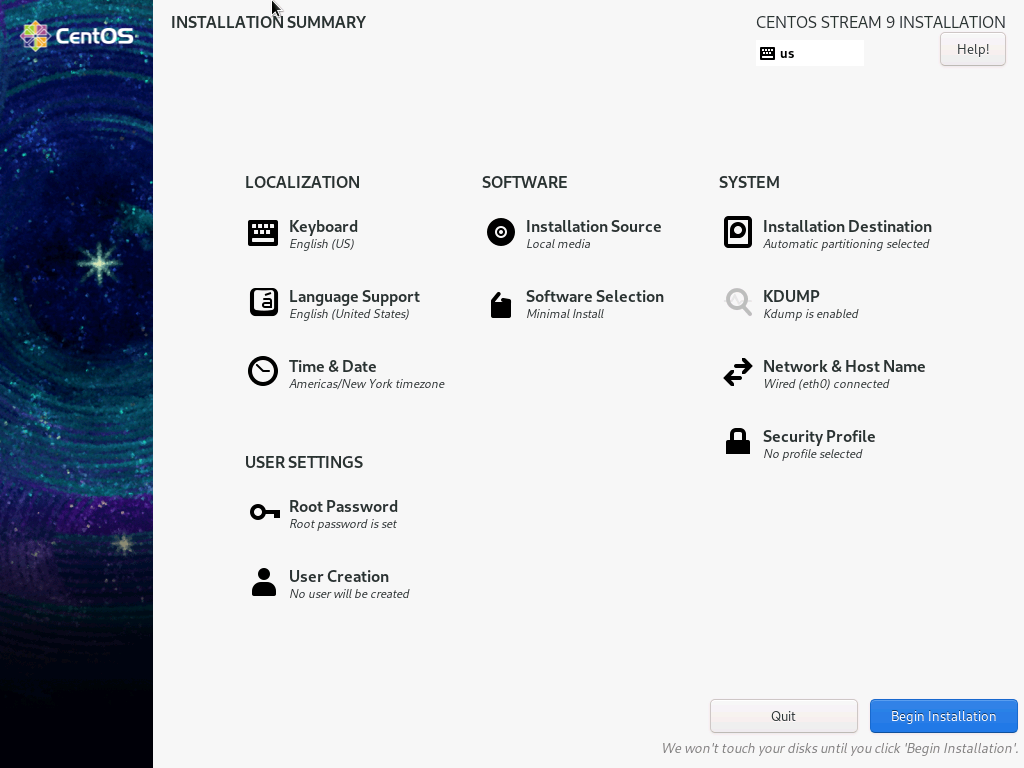
Click Network & Host Name to display the network & host name screen.
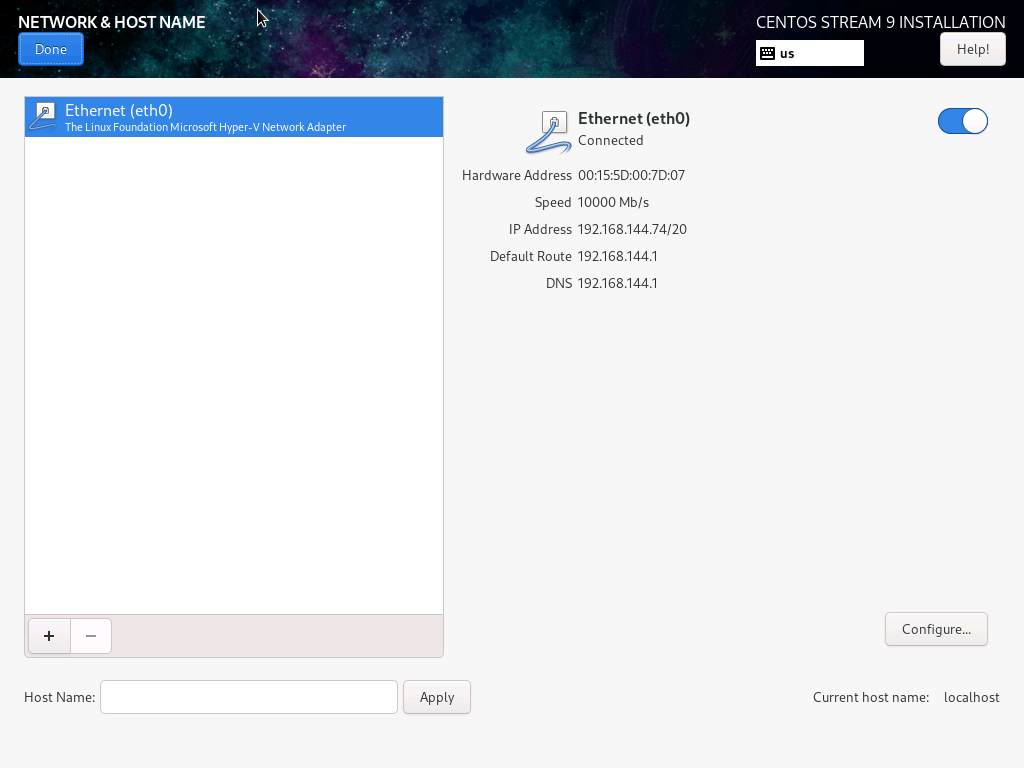
First, enter the new hostname in the field in the lower-left corner, then click the Apply button.
The network configuration will use a DHCP server if one is available, as shown here.
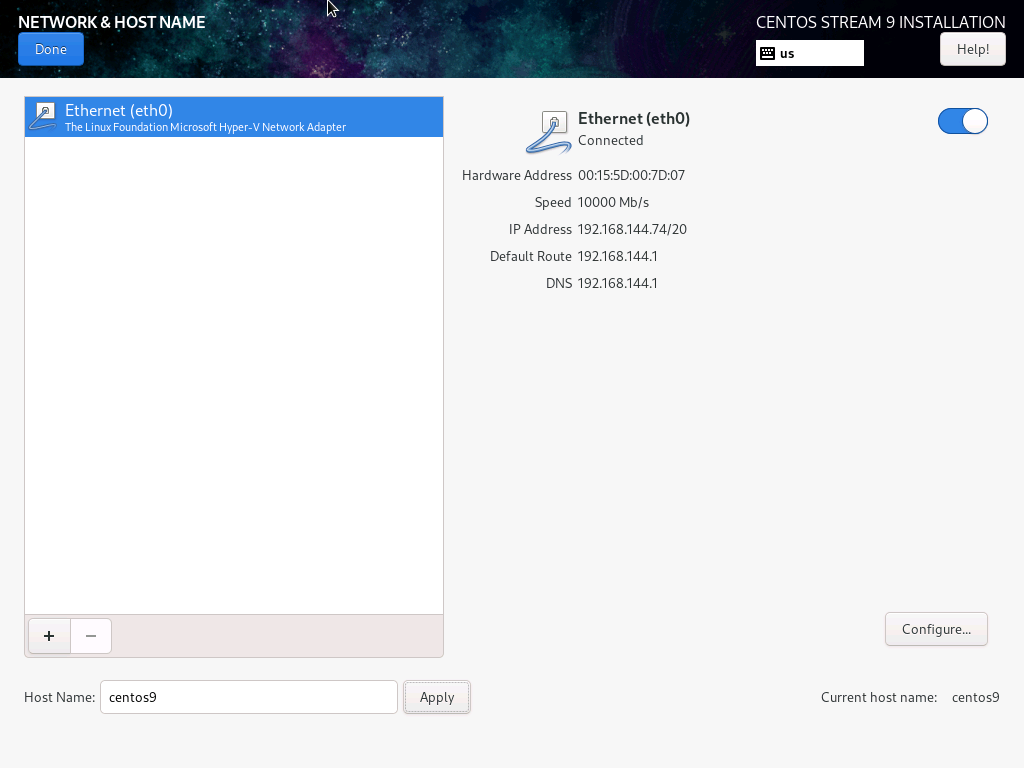
If the network configuration is acceptable, skip ahead to Done with Network & Host Name.
If you do not have a DHCP server, or prefer a different method of configuring the network adapter, click the Configure button in the lower-right corner to edit the configuration.
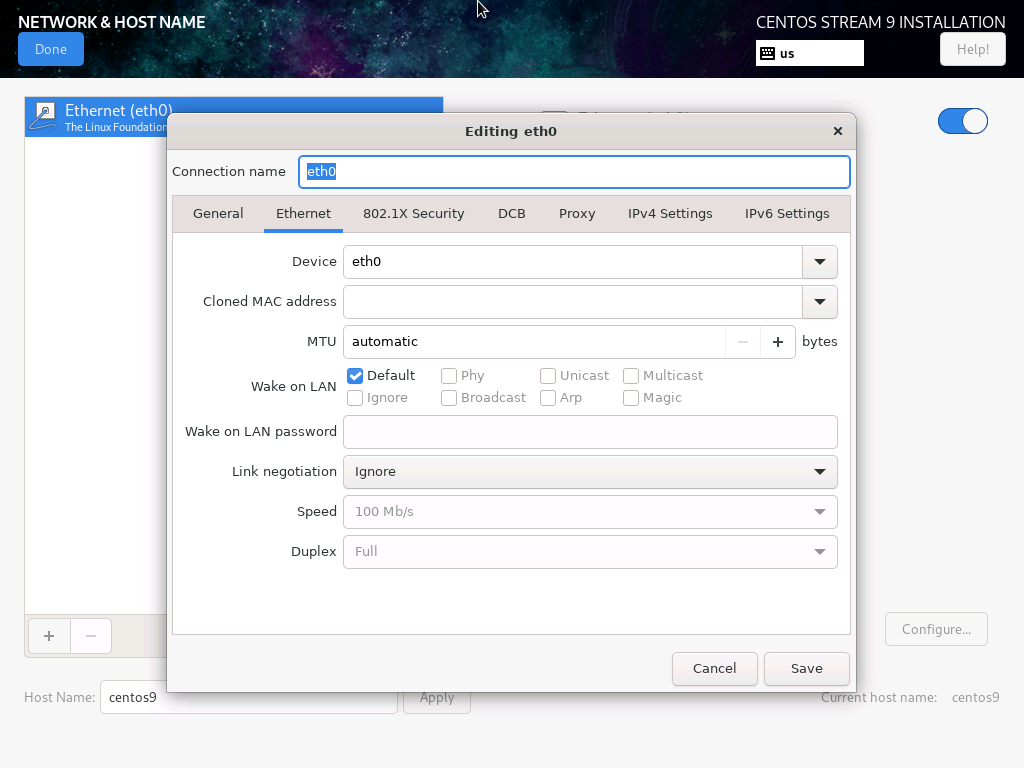
Click IPv4 Settings to open that tab and change how the network adapter is addressed.
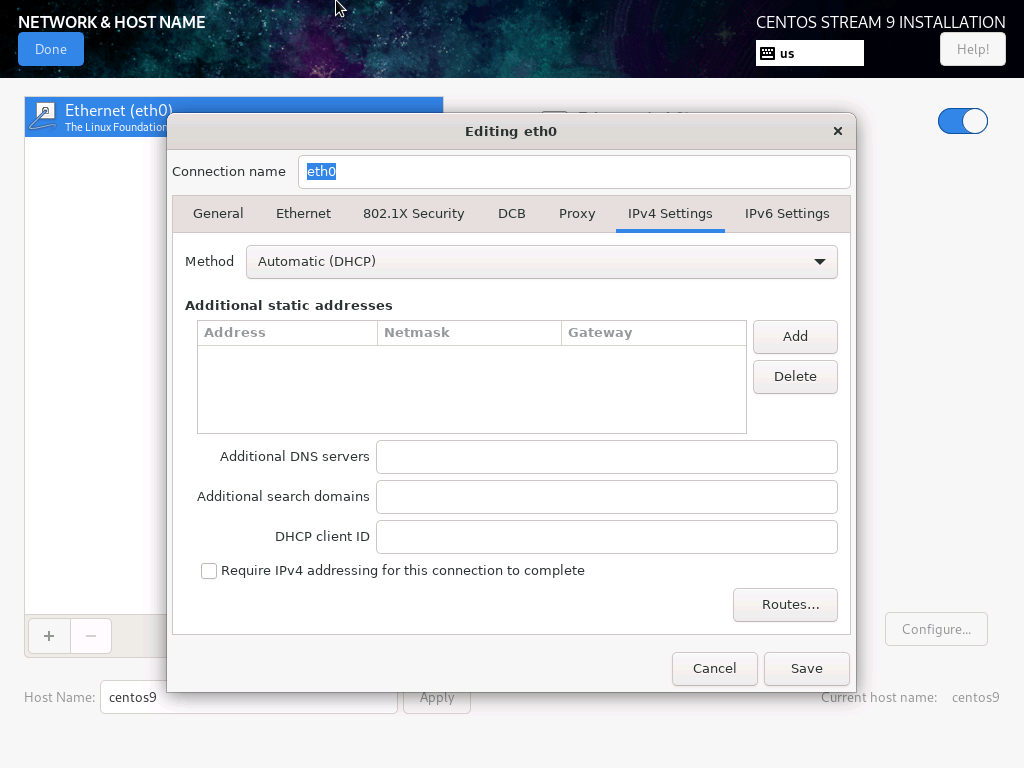
Click the Save button in the lower-left corner to return to the Network & Host Name screen.
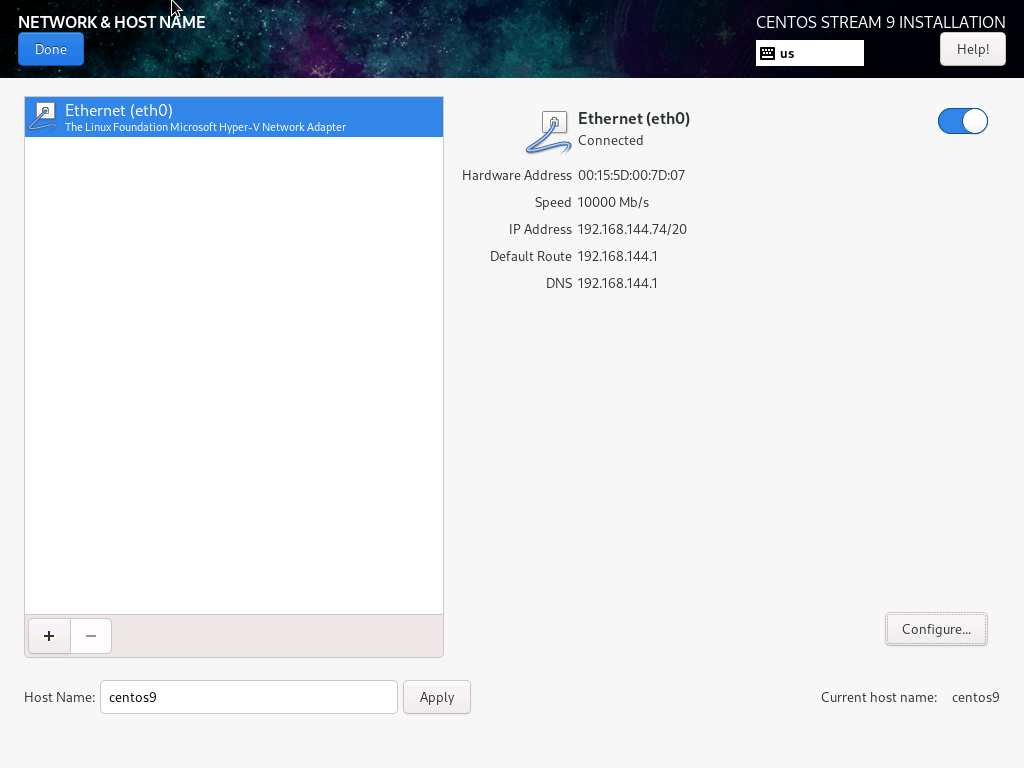
Done with Network & Host Name. Click the Done button in the upper-left corner to return to the installation summary.
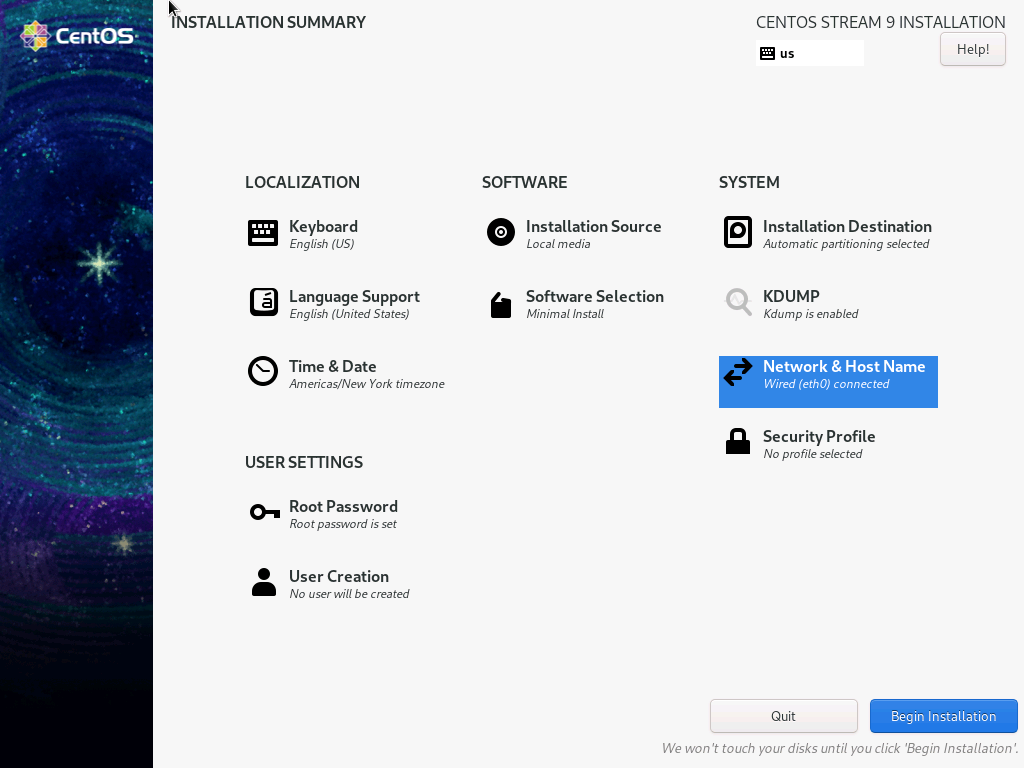
Click the Begin Installation button in the lower-right corner of the installation summary, and the installation will begin.
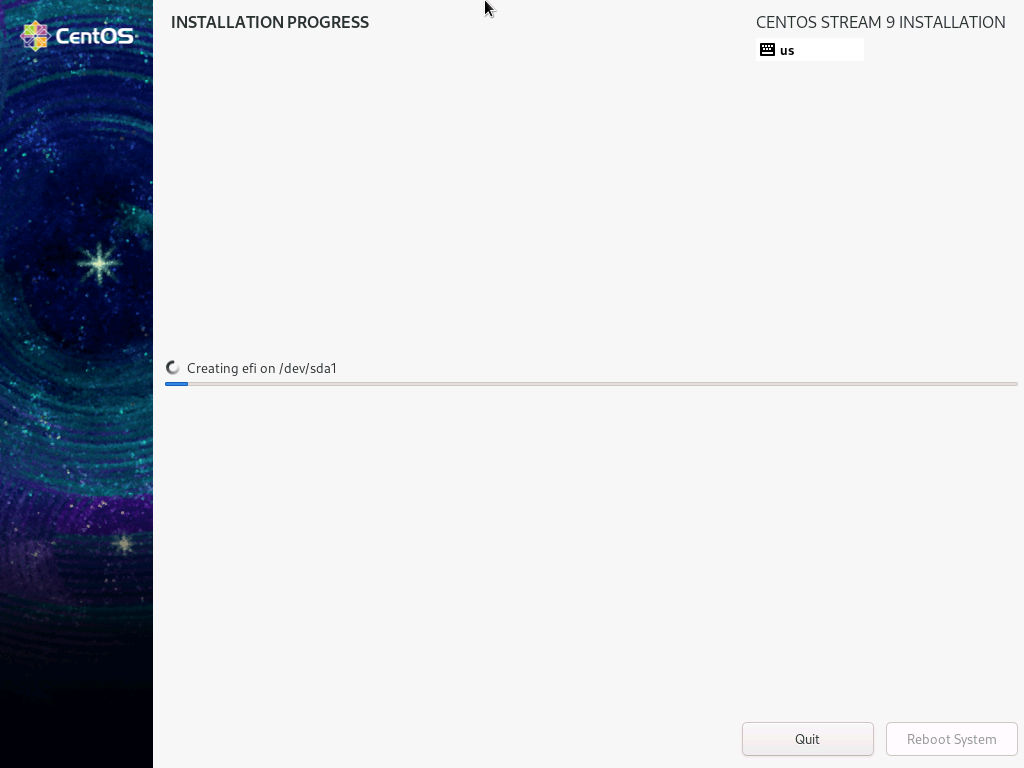
Wait while the installer prepares the disk.
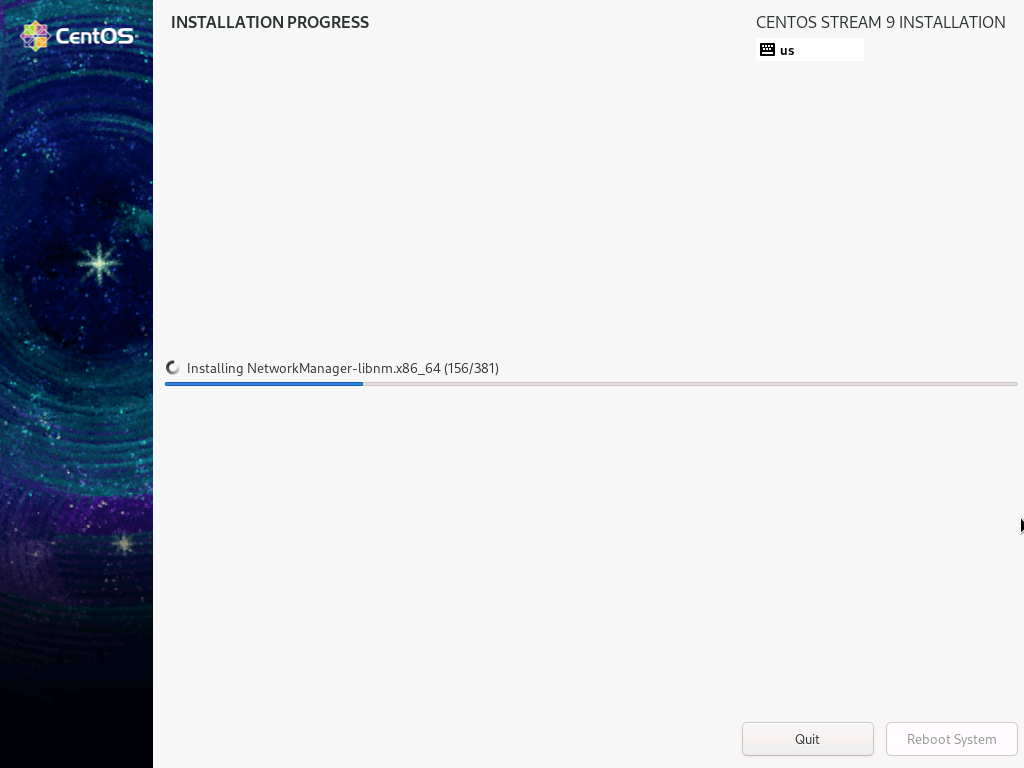
Wait while the installer copies the OS to the disk.
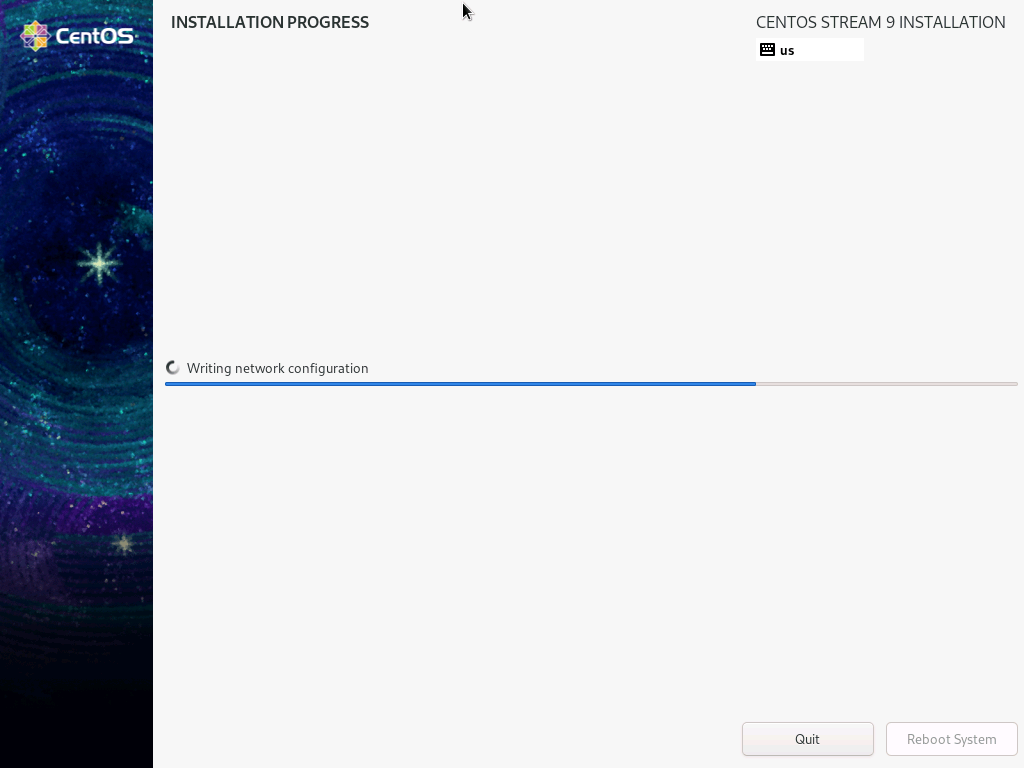
Wait while the installer configures the OS.
When the installation is complete, the Reboot System button in the lower-right will be enabled.
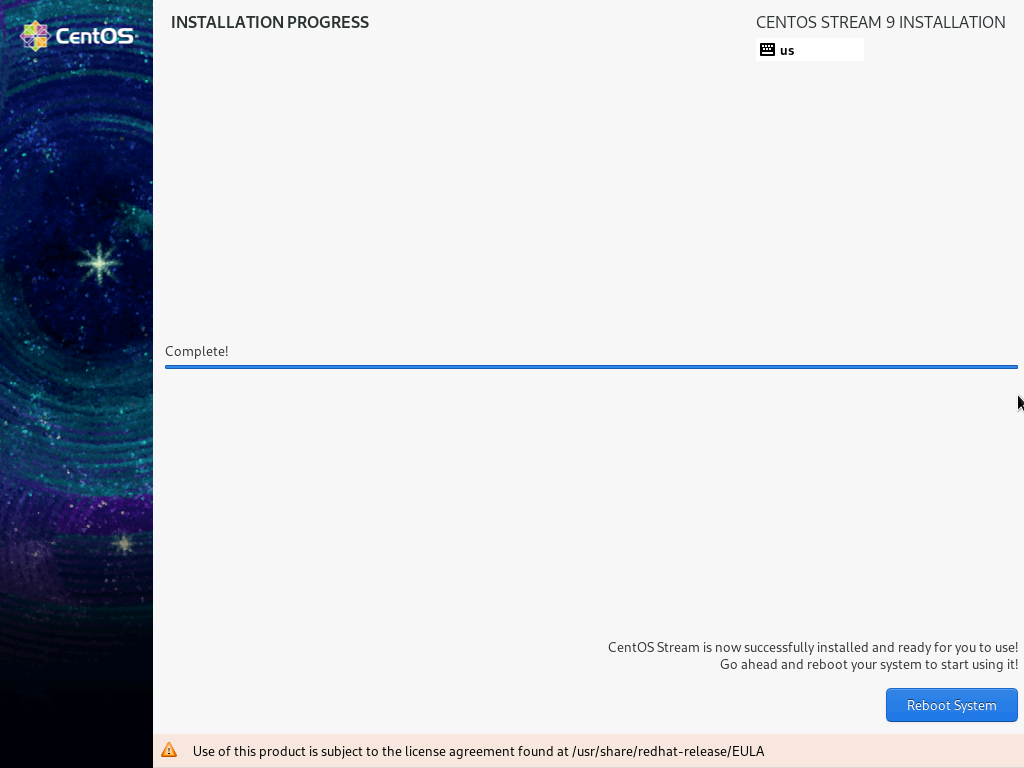
Click it and the install media will be ejected as the VM reboots. After the reboot, the OS boot menu will be displayed for a few seconds.
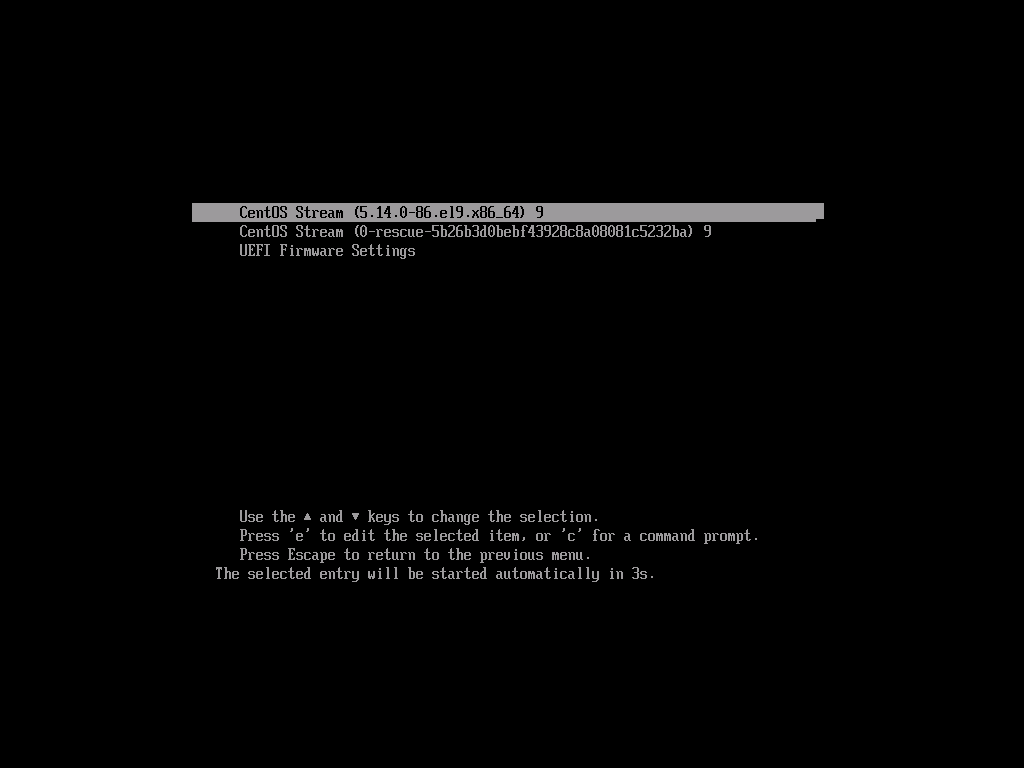
The VM will display some startup information and end with a mostly-blank screen and a login prompt in the upper-left corner.
Ansible Bootstrap
After the OS is installed, there are a lot of setup steps. This project includes some scripts to automate setting up the server in a particular way.
Sign in to the VM as root and run this command:
cd && curl -LJO https://github.com/BlacksilverConsulting/OS9/raw/main/start.sh && bash start.sh
This shell script does several things:
- Enable the EPEL repository
- Install Ansible and required dependencies
- Download and run the base Ansible playbook
- Download the pg14 and dm Ansible playbooks used below
(To see what each playbook does, click the link.)
The shell script ends with instructions for downloading and running two additional Ansible playbooks.
(Optional) PostgreSQL 14 Server and Client
Use this playbook to install PostgreSQL 14 Server and Client from The PostgreSQL official site with some opinionated defaults.
ansible-playbook ~/pg14.yaml
See the alternate cluster location instructions after running this playbook if you need your PostgreSQL 14 cluster to be in a non-default directory.
(Optional) Document Management Support
Linux-based document management systems benefit from using this playbook to pre-install many useful components.
ansible-playbook ~/dm.yaml
Next steps
After that, things get interesting. We can start attaching disks from other VMs, configuring applications, and getting ready to test.